How-to: Set up a Virtual Landline with VoIP
This 'How-To' guide will help you to purchase and setup everything you need to create a phone line for your business and to enable you to receive and make calls displaying your new number from your mobile.
Here are a few definitions, which should make the process easy to follow
Virtual Landline - a phone number that isn't attached to a physical line or device, meaning that calls can be forwarded to a dectination of your choice.
VoIP - Voice over IP - making and receiving calls over the internet.
Softphone - A application for mobile or desktop which allows you to register a VoIP User.
Setting up a Virtual Landline is as easy as 1-2-3 (4-5!!)
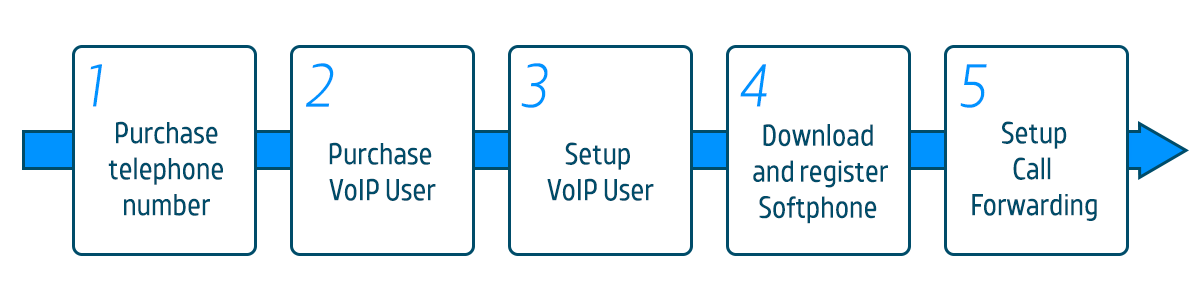
That's it - Within minutes of finding a number you can be making and receiving calls for your business.
Purchasing a telephone number
First, you'll need to decide the type of number you want, we offer a wide range of number types, if you're not sure what works best for you, see more information here.
Once decided, go to the relevant page and select the number range (dialling code) you want from the drop-down list in the purple box. If you want a particular sequence of numbers at the end of your new number, this can be typed into the End Pattern box, leaving this blank will return every possible number in the range you select.
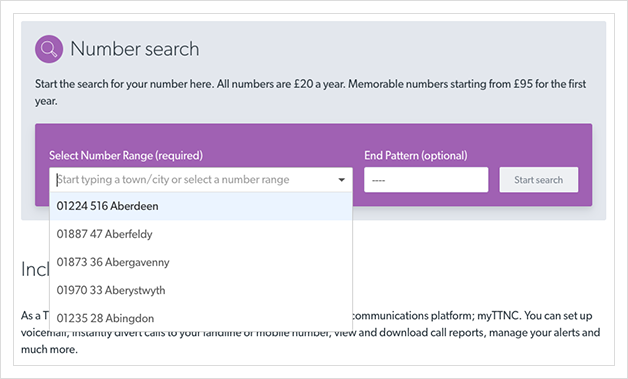
You're presented with all of the available numbers in your chosen range, this is broken down into standard and more memorable number bands. Select on the number you want, and then click I'm ready to buy. This will add the number into your basket, and allow you to being to customise your account.
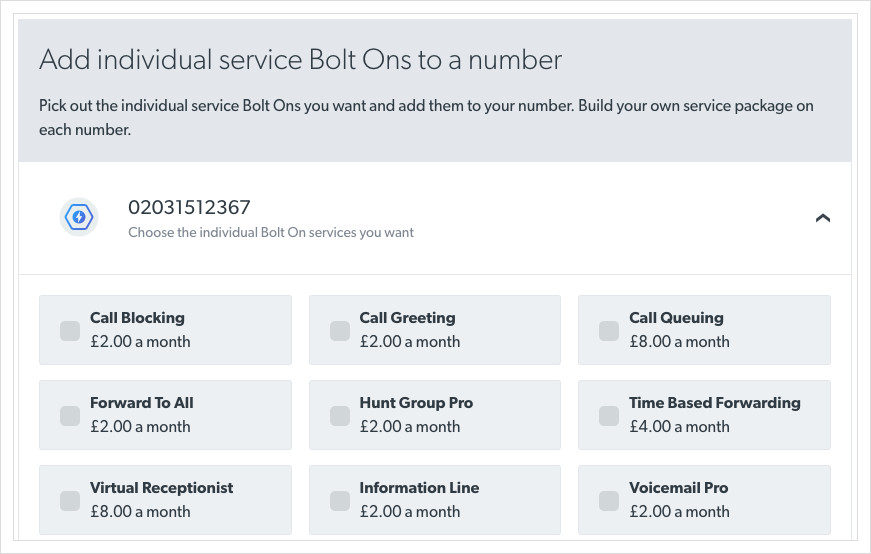
You can purchase a package, which is account-wide, or individual Bolt Ons, which are number specific.
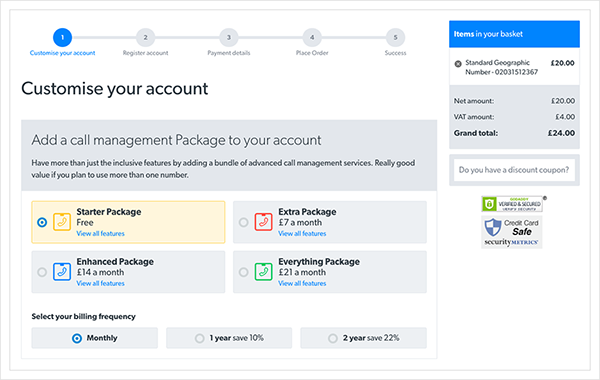
Then select the type of call credit you require. Inbound calls are free if you're using VoIP on a 01, 02 or 03 number. Please note: There is a charge for inbound calls which go to other destinations, including TTNC Voicemail.
If you're looking to make outbound calls, then call credit is required. Pay As You Go is recommended, unless you're expecting to make a high volume of calls, then it may be more cost-effective to purchase a Monthly Tariff, which reduces the call cost. More information can be found here.
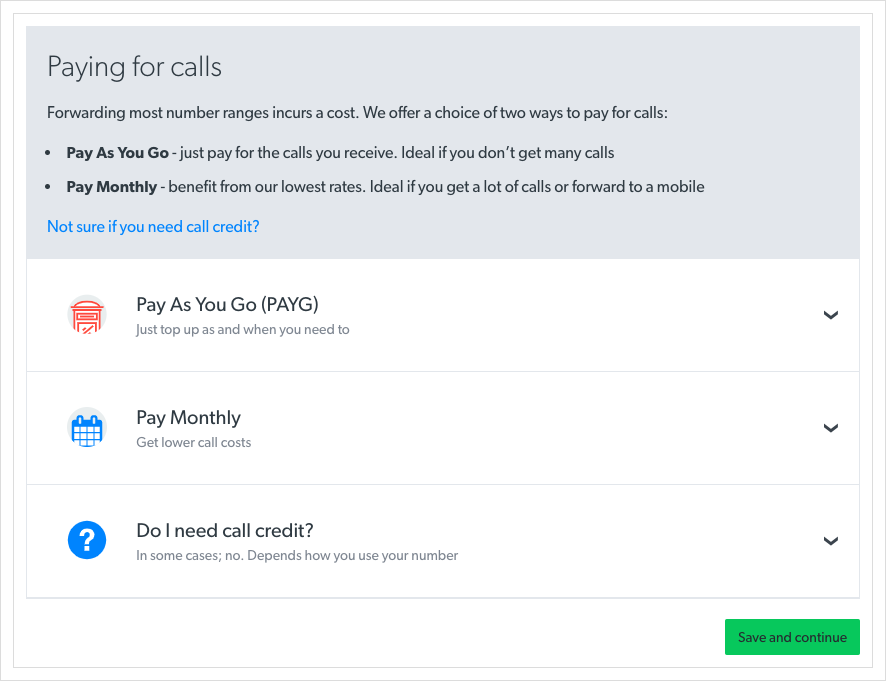
To complete your purchase, click Save and continue then enter your details to create an account and paid for the number, services and credit.
Purchasing a VoIP User
Once you've purchased a number, you'll get access to myTTNC, your control panel, which will allow you to buy Bolt Ons, top up credit, set up functionality as well as showing you in-depth Call Statistics of both inbound and outbound calls.
To buy a VoIP User, click on 'myTTNC Store' on the left-hand side, then click 'Add Bolt On Services'. From the list click Buy next to the VoIP User Bolt On.

Select the number you would like to add the VoIP User to - This will be the Caller ID shown when you make outbound calls - and confirm the quanitity of users. A VoIP User creates an account wide forwarding destination, meaning it can be used across multiple numbers within your account.
After payment, the VoIP User can be set up.
Setting up the VoIP User
To set up your VoIP User, click on 'VoIP' on the left-hand side, then click on 'VoIP Users'. Press Manage next to the number with which you associated the VoIP User.

Click Create New VoIP User and give the VoIP User a nickname, this will only show in myTTNC or as your caller ID if you make an internal call to another VoIP User in your account.
You can add a Failover Destination; this will be used as your Forwarding Destination if you are without an internet connection (There is a forwarding charge for calls to a Failover.) - If you're using the TTNC Softphone Battery Saver Mode, the Failover is disabled.
An extension number should also be added, this can be four to six digits long, and is used to make internal calls and transfers to another VoIP User in your account.
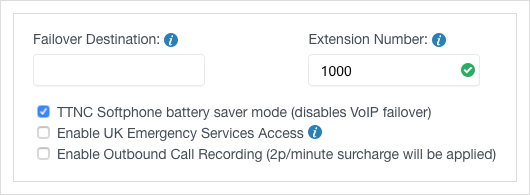
TTNC Softphone Battery Saver Mode means that you don't need to have the TTNC Softphone open to receive calls. We will use push notifications to alert you of an inbound call.
You can enable access to the emergency services if needed, and you can also enable Outbound Call Recording.
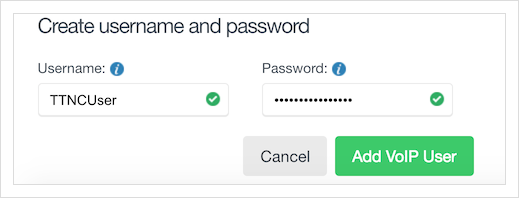
Give your VoIP User a username - this must be between 8 and 12 characters and can only include lowercase letters. Then finally, a password. The password must be between 14 and 32 characters and must include an upper case letter, a number and one special character. - Don't forget to make a note of the password, when setup is complete, it cannot be viewed.
Once entered, press Add VoIP User.
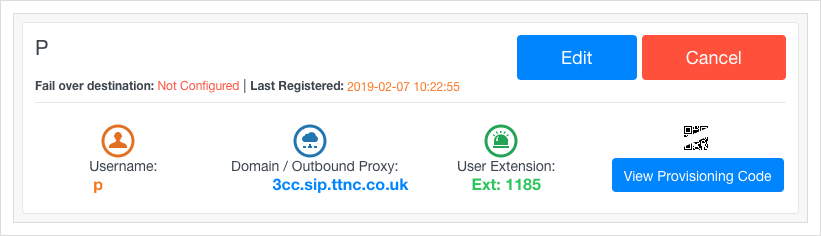
You'll see a summary of your VoIP User details here, including the Provisioning QR Code, which will allow instant registration of the Softphone with a simple scan.
Downloading the TTNC Softphone App for Mobile
All you need to do to download the TTNC Softphone App for Mobile is to scan the relevant QR code below. Alternatively, search for 'TTNC Phone' on the iOS App Store or Google Play Store.
To scan the code, open the camera app on your mobile and focus on the QR Code for a few seconds.

Registering your VoIP User on the Softphone.
The penultimate step of your Virtual Landline setup is to register your VoIP User onto your newly downloaded Softphone.
Log into myTTNC on a computer, and click on 'VoIP' on the left-hand side, then 'VoIP Users'. Press the Manage button next to the number with which you associated the VoIP User.
Click on View Provisioning Code and then open up the Softphone app on your mobile and press scan QR, when the camera opens, focus on the Provisioning QR Code. The app will attempt to register your VoIP User; this could take up to a minute.
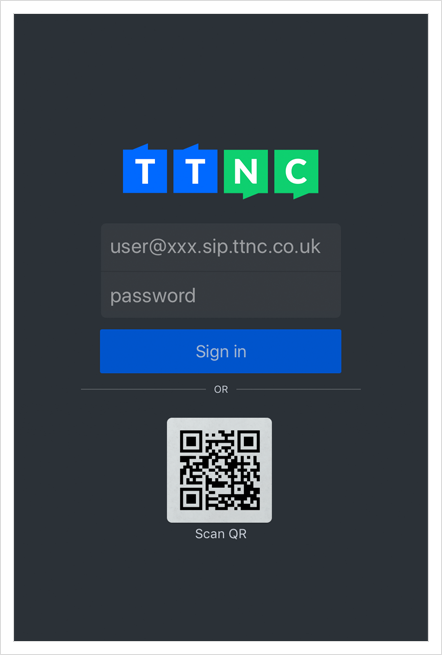
Once you see the keypad, and TTNC in the top-left corner had a solid green border, your Softphone is ready to make calls, and all that's left to do is set you TTNC number to forward calls to your VoIP User.
Setting up your Call Forwarding
Te final step is to update your TTNC number's forwarding destination.
Click on 'Phone Numbers' on the left-hand side, then click Edit next to the number.
Then select Call Forwarding from the list of services.

Select your VoIP User from the drop-down list in Destination 1 by clicking on the down arrow in the box.
Click Confirm to save your Call Forwarding.

Any calls made to your TTNC number will now be forwarded to the Softphone on your mobile, give it a test call to ensure it works as you expected.
The setup of your new Virtual Landline is complete.